📂 Project
In Kubefly, you can create new projects or manage existing ones. Each project gets a unique ID to identify it within the Kubernetes cluster. The project also gets a unique namespace in the Kubernetes cluster, with a name identical to the project ID.
Creating a New Project
To create a new project, log in to the Kubefly platform and click the New Project button in the top right corner. Fill in the project name and description, and select the blueprint to be used for the project. Click the Create project button to create the project.
Before creating a project, you need to create a Blueprint first. Visit the Blueprints section to learn more about blueprints.
You can also set some tags for the project. Tags are used to group projects and can be used to filter projects in the project list.
Managing Existing Projects
Each project has its own overview page where you can view detailed information about the project and its resources.

Each Kubefly project has a namespace in Kubernetes, with specific labels:
| Label | Description |
|---|---|
| kubefly.io/displayName | The display name of the user in Pocketbase. |
| kubefly.io/projectId | The project name, i.e., the ID. |
| kubefly.io/userId | The user ID of the project. |
| kubefly.io/username | The username of the project. |
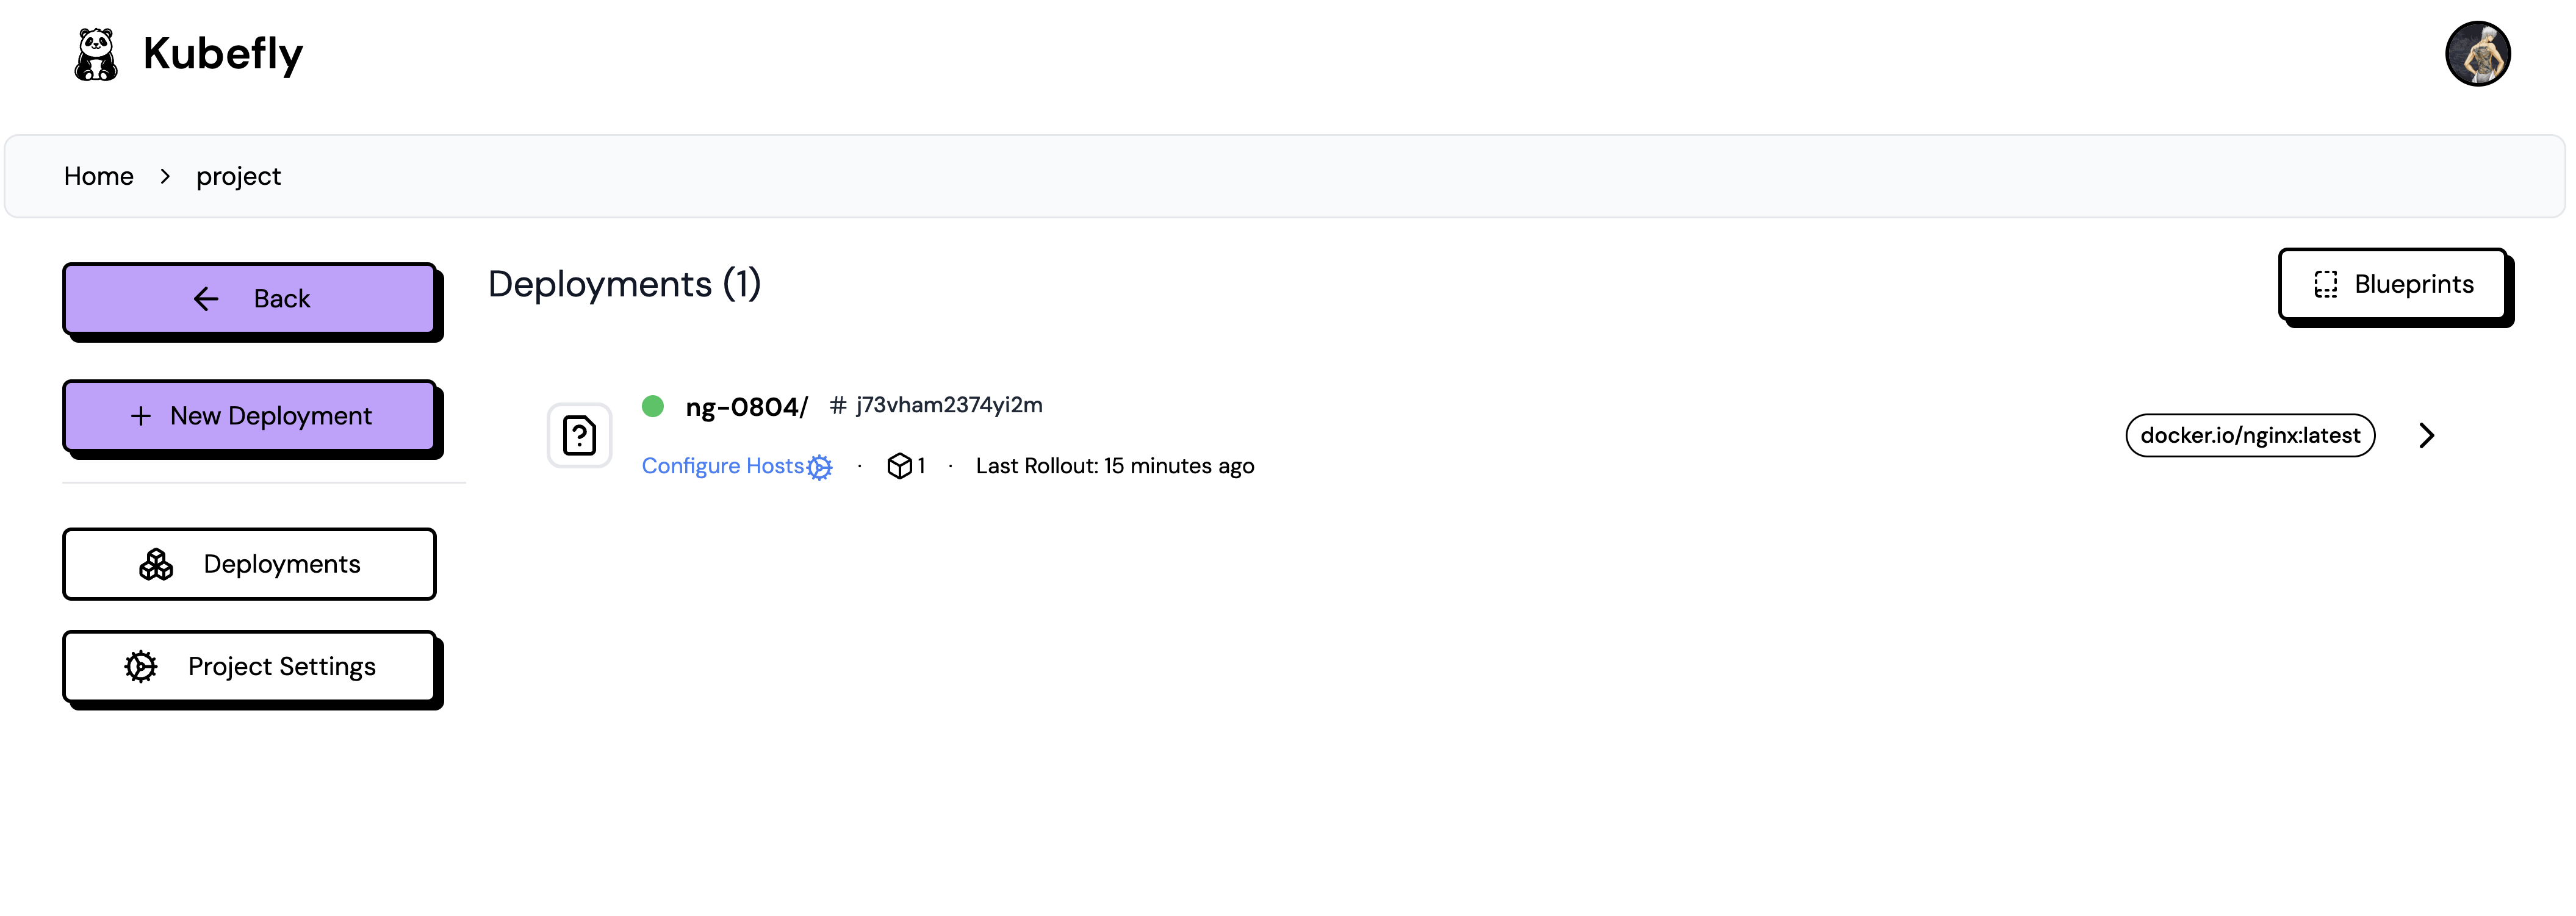
Overview
In the project overview, you can see all deployments in the project. You can also navigate to Blueprints, create new deployments, or make some project settings. For the listed deployments, you can view their status, the currently released ID, the number of replicas running in the cluster, and the image currently deployed.
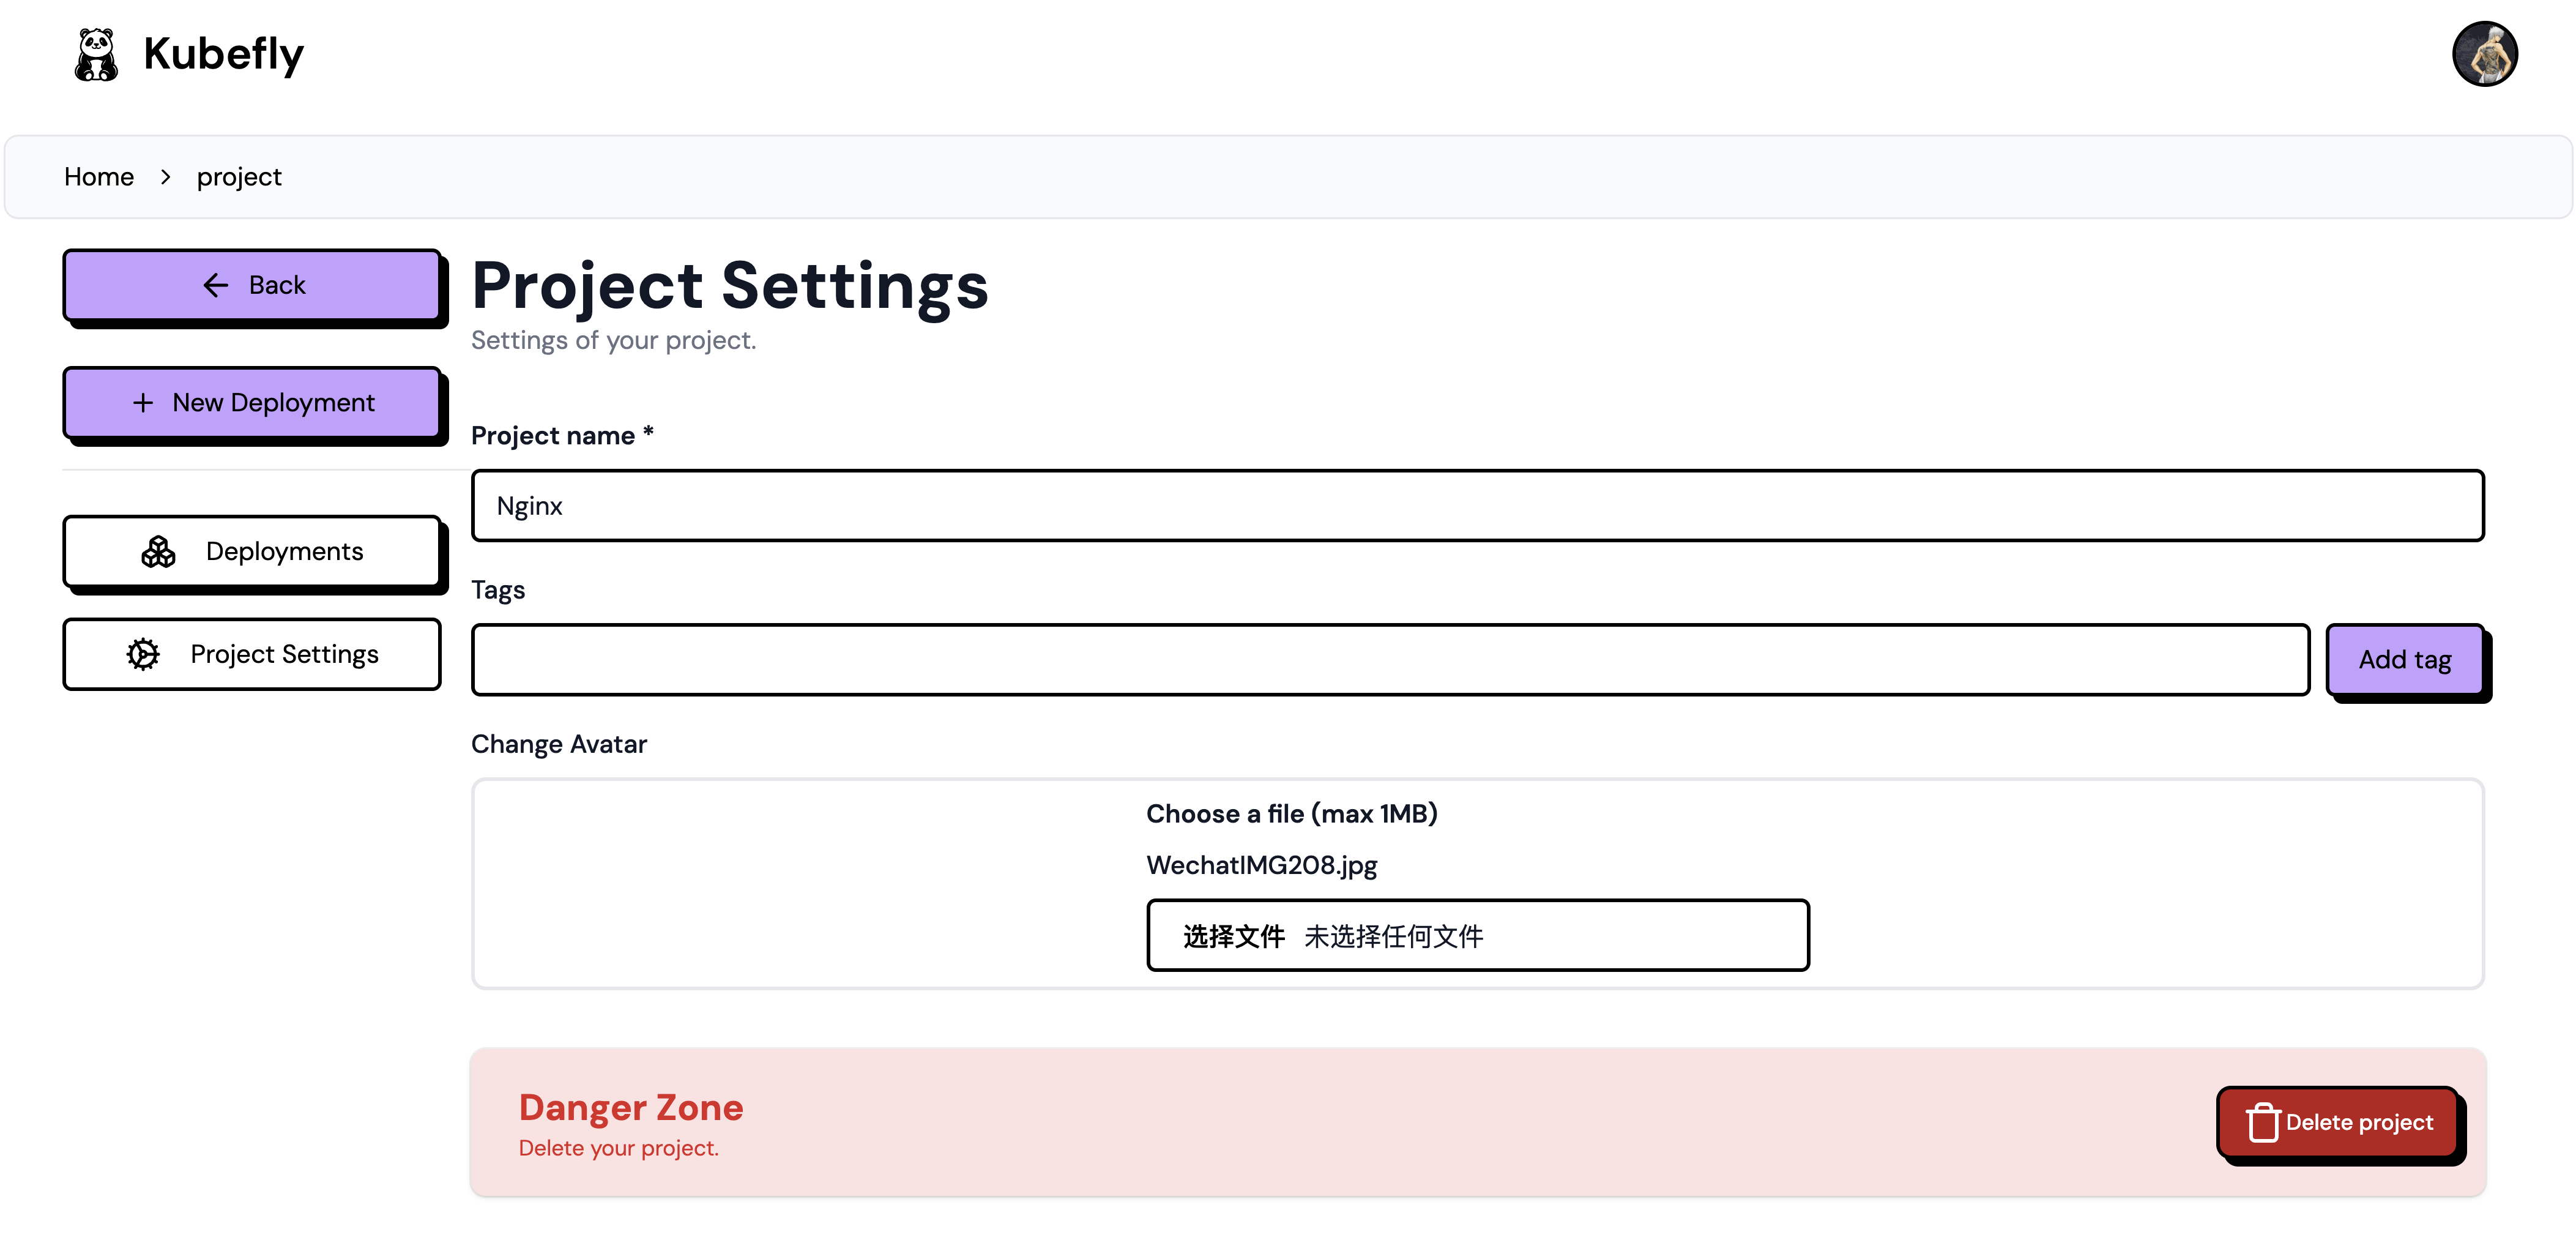
Project Settings
In project settings, you can change the project name, avatar, and tags. You can also delete the project from the project settings, which will also delete the namespace in the Kubernetes cluster.